-
Aquaponics Circular Food System: The Ancient Loop Nature Already Built
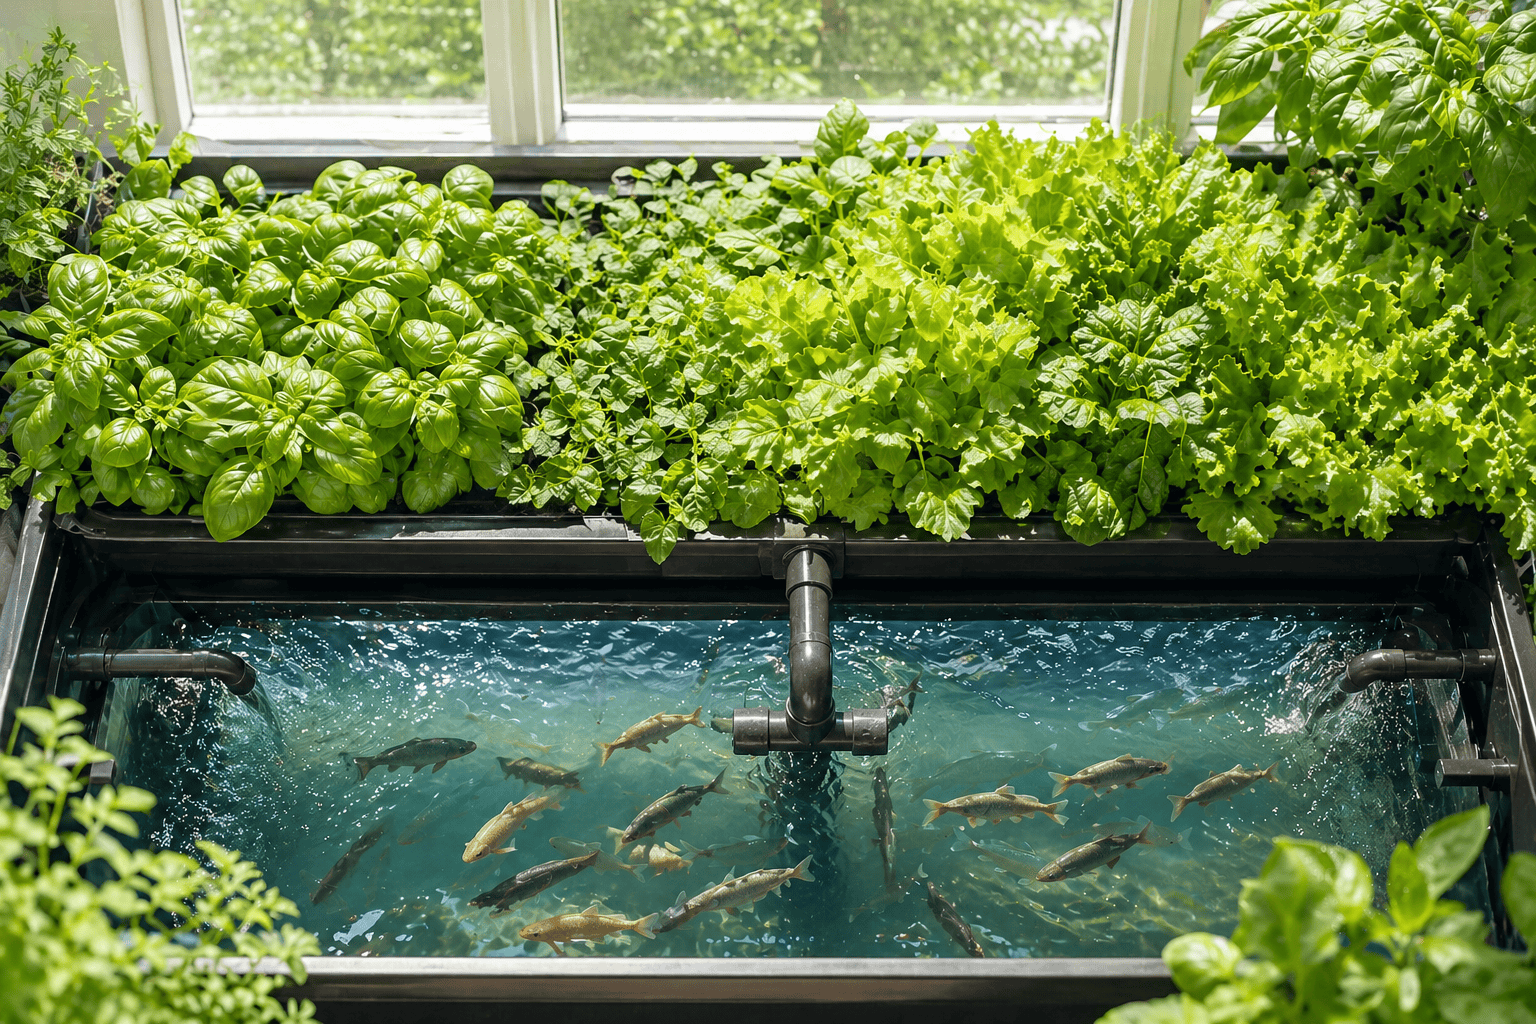
+91 98413 77070 connect@venonto.com Home About us Services Hydroponic Farming Terrace Gardening Recirculating Aquaculture System Blog Home About us Services Hydroponic Farming Terrace Gardening Recirculating Aquaculture System Blog Contact Us Aquaponics and the Circular Food System: The Loop Nature Already Built The Loop That Was Always There The aquaponics circular food system is one of…
-
Terrace Garden Setup in Hyderabad
+91 8976402918 connect@venonto.com Home About us Services Hydroponic Farming Terrace Gardening Recirculating Aquaculture System Blog Home About us Services Hydroponic Farming Terrace Gardening Recirculating Aquaculture System Blog Contact Us Terrace Garden Setup in Hyderabad: A Simple, Practical Guide for Homeowners If you live in Hyderabad, you have probably at some point looked at your rooftop…
-
How to Build a Hydroponic System for Home: A Beginner’s Step-by-Step Guide

+91 8976402918 connect@venonto.com Home About us Services Hydroponic Farming Terrace Gardening Recirculating Aquaculture System Blog Home About us Services Hydroponic Farming Terrace Gardening Recirculating Aquaculture System Blog Contact Us How to Build a Hydroponic System for Home: A Beginner’s Step-by-Step Guide Are you living in an apartment and dreaming of growing fresh vegetables and herbs…
-
IoT, Data & Rooftops: Smart Hydroponic Farming in India
Call us: +91 98413 77070 connect@venonto.com Home About us Services Hydroponic Farming Terrace Gardening Recirculating Aquaculture System Blog Home About us Services Hydroponic Farming Terrace Gardening Recirculating Aquaculture System Blog Contact Us How IoT and Data Analytics Are Transforming Urban Hydroponic Farming in India Let me tell you about the thing that actually kills most…
-
Hydroponic Terrace Gardening in Hyderabad: 7 Easy Steps to Start Growing at Home
+91 9841377070 connect@venonto.com Home About us Services Hydroponic Farming Terrace Gardening Recirculating Aquaculture System Blog Home About us Services Hydroponic Farming Terrace Gardening Recirculating Aquaculture System Blog Contact Us 7 Steps to Set Up Your Hydroponic Terrace Garden A Guide for Hyderabad (and Beyond!) — Featuring Hydroponics Ever imagined picking fresh gongura leaves or plump,…